 Bellingham
 Siding Installation in Fairhaven Is Not a One-Size-Fits-All Job
Fairhaven sits on the hillside above Bellingham Bay, and that setting puts real, sustained stress on exterior siding that a lot of installation crews simply aren't set up to plan around. A siding job here isn't just "material plus labor." It's a water-management system that has to hold up against salt-tinged marine air, rain that arrives sideways as often as it falls straight down, and a moss and mildew season that runs longer than most of Whatcom County sees inland. We install siding across the county, and Fairhaven is one of the neighborhoods where we see climate stress show up earliest when a job was rushed or under-detailed.
This page is specifically about siding installation for Fairhaven homes — the decisions and details that separate a job that looks fine on install day from one that still performs correctly ten winters later.
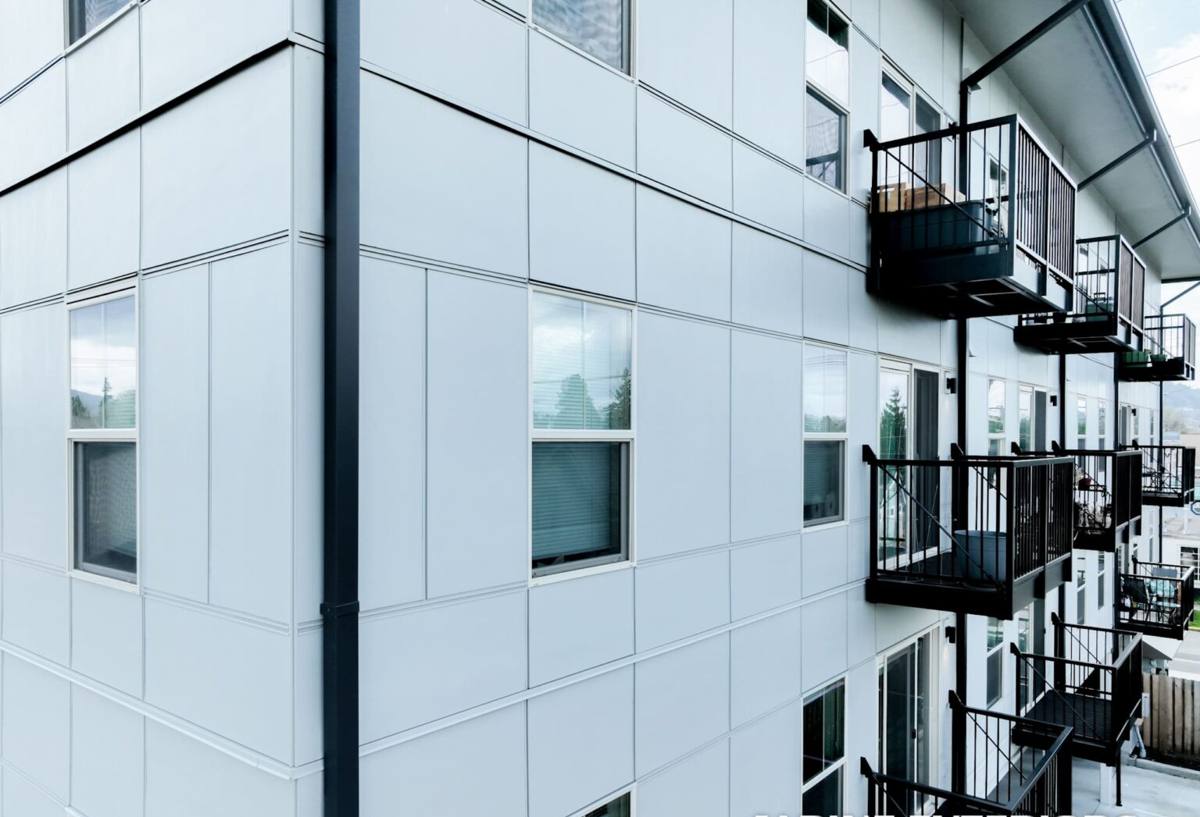
What Fairhaven's Climate Actually Demands From an Installation
Salt Air and Slow Corrosion
Homes close to Bellingham Bay sit in a steady drift of mildly corrosive, moisture-laden air, not just during storms but as a background condition most of the year. That exposure works on fasteners, flashing metal, and lower-grade finishes gradually. It rarely announces itself on install day — it shows up years later as rust bleed at nail heads, degraded caulk lines, or a finish that fades and chalks well ahead of schedule. Installation choices like fastener type and finish quality matter more here than they would forty miles inland.
Wind-Driven Rain at Every Seam
Fairhaven's exposure to open water means rain doesn't just fall on a wall, it gets pushed into it. Wind-driven rain finds any weak point at lap joints, trim seams, and wall penetrations from angles a "good enough" installation was never tested against. The material can be excellent and still let water in if the house wrap, flashing, and lap sequencing underneath it weren't done correctly.
A Long Moss and Mildew Season
Mild, consistently damp conditions and mature tree cover on many Fairhaven lots add up to extended moss and mildew growth, especially on shaded and north-facing walls. Correct installation — proper clearance from grade and rooflines, ventilation gaps where called for, and drainage that actually drains — reduces how long a wall stays wet after a storm, which is the real variable that determines how bad a moss problem gets.
Why We Install Only James Hardie Fiber Cement
We don't offer a lineup of siding brands and let price sort out the decision. We install James Hardie fiber cement, and only James Hardie, because of what we've consistently seen on tear-offs and repair calls in exactly this kind of marine climate. Fiber cement doesn't swell, cup, or warp the way engineered wood can after repeated wet-season moisture cycles, its ColorPlus finish is factory-cured rather than field-applied, and Hardie's HZ5 formulation is engineered specifically for regions with heavy sustained moisture rather than a generic national spec.
| Material | How It Behaves in This Climate | Maintenance Burden |
|---|---|---|
| James Hardie fiber cement (HZ5) | Dimensionally stable in sustained moisture; factory finish resists salt-air fading | Low — no repainting cycle if the ColorPlus finish is left intact |
| Vinyl siding | Can warp in direct sun and crack in a cold snap; traps moisture behind the panel if house wrap and flashing aren't precise | Low day-to-day, but hidden moisture problems go unnoticed until they're serious |
| Engineered wood (e.g. LP SmartSide) | Resin-treated strand core is more sensitive than fiber cement to moisture at cut edges and fastener penetrations in sustained-humidity climates | Moderate — depends heavily on caulking and edge sealing staying intact |
| Cedar or primed wood siding | Attractive, but needs an unbroken paint or sealant film to keep moisture out | High — repainting/resealing schedule that's easy to fall behind on in a wet climate |
These are legitimate products, and plenty of contractors install them competently. We made a professional call that in a climate this consistently wet and salt-exposed, standing fully behind one system we understand completely serves homeowners better than offering a cheaper option that quietly shifts maintenance risk onto them a few years down the road.
What a Correct Installation Actually Involves
The material is only half the equation. A James Hardie installation performs the way it's engineered to only when the details underneath the boards are right. This is where a rushed job and a correct job look identical from the curb, and completely different five years later.
- Continuous, correctly lapped house wrap that functions as one water-shedding plane, not a series of separate patches
- Flashing at every penetration — windows, doors, hose bibs, vents, and anywhere a wall is broken — integrated with the house wrap, not just caulked over
- Proper clearance from grade, roofline, and decks so siding isn't sitting in standing water or trapped moisture from day one
- Manufacturer-spec fastener pattern and type, including corrosion-resistant fasteners appropriate for a marine-air environment
- Correctly sequenced lap joints so water is shed downward and outward at every seam, not channeled behind the board
- Caulking and joint treatment at butt joints and trim using products rated to actually hold up outdoors, not whatever tube is on the truck
- A field cut and touch-up standard that seals exposed edges instead of leaving raw fiber cement exposed to moisture
Any one of these done wrong can undercut everything else, which is why we treat installation detail with the same seriousness as the material decision.
Our Installation Process, Start to Finish
- On-site assessment. We walk the home, check existing siding and substrate condition, and look specifically for signs of past moisture intrusion before quoting anything.
- Substrate prep. Old siding comes off, sheathing gets inspected, and any rot or hidden damage is addressed before a single new board goes up — covering a compromised substrate just hides the problem.
- House wrap and flashing. We install the water-management layer as one continuous system, with flashing integrated at every window, door, and penetration.
- Siding installation to Hardie spec. Boards go up with the correct fastener pattern, lap sequence, and clearances called for by the manufacturer for our climate zone.
- Trim, joints, and finish detail. Corners, butt joints, and trim get sealed and finished to hold up against wind-driven rain, not just look clean on install day.
- Final walkthrough. We go over the finished job with you and point out anything worth knowing for future maintenance.
Installation Cost Factors for a Fairhaven Home
| Factor | What It Affects | Why It Matters in Fairhaven |
|---|---|---|
| Tear-off vs. install over existing siding | Labor scope and substrate access | Tear-off exposes hidden moisture damage that's common under older siding this close to the bay |
| Substrate condition | Repair costs before new siding goes on | Years of trapped moisture behind failing siding can rot sheathing before it's ever visible from outside |
| Wall complexity and trim detail | Total material and labor time | Older Fairhaven homes often carry more trim and roofline intersections where water has more places to get in |
| Site access and slope | Staging, scaffolding, and setup time | Sloped lots common on the hillside above the bay can add equipment and access time |
| Finish and color selection | Material cost and long-term finish life | Factory ColorPlus finishes outlast field-applied paint against salt air and UV exposure |
Real numbers depend on the specific house, which is why we walk the property in person before quoting instead of pricing off square footage alone.
Why a Crew That Already Works in Fairhaven Matters
A crew that installs siding in this neighborhood regularly learns how salt air, wind-driven rain, and moss actually behave on real walls over a full year, not just how a product performs on a spec sheet. That translates into practical decisions on install day: which wall orientations stay damp longest, where extra flashing attention is worth the time, and which shortcuts that might be fine in a drier inland climate simply aren't acceptable here. Fairhaven's older housing stock and hillside terrain leading down toward the water aren't identical to conditions elsewhere in Bellingham, and a crew with real experience in the neighborhood plans around that instead of applying a generic approach.
Installation Mistakes That Shorten a Siding Job's Life
Most premature siding failures we get called out for weren't caused by bad material — they were caused by installation shortcuts that don't show up until the wall has been wet for a few seasons.
- House wrap installed with gaps or reverse-lapped seams that let water track behind it
- Flashing caulked instead of properly integrated with the water-resistive barrier
- Siding installed tight to grade, decking, or roofing with no drainage clearance
- Fasteners driven at the wrong pattern or depth, which can crack boards or reduce wind resistance
- Cut edges left unsealed, giving fiber cement a direct entry point for moisture
Every one of these is invisible from the street on the day the job wraps up. The difference only becomes obvious years later, which is exactly why the installation process matters as much as the product on the wall.
If you're planning a siding installation in Fairhaven — new construction, a full replacement, or you just want an honest read on what your current siding is doing — we're glad to take a look. Reach out using the form below to schedule a free, no-pressure estimate.