 Bellingham
 Building New in Edgemoor: What the Site Actually Throws at Your Windows
Edgemoor sits up on the bluff overlooking Bellingham Bay, and that setting is a big part of why people build there — but it's also why windows in this neighborhood take a different kind of abuse than windows a few miles inland. Elevated, open-water exposure means more direct wind, more wind-driven rain hitting the wall assembly at an angle instead of falling straight down, and a steady dose of salt-laden air coming off the water. Add in Whatcom County's long, wet fall-through-spring stretch and the moss and algae growth that comes with it, and you've got three separate stresses working on a window opening at once: mechanical (wind load), moisture (driving rain), and chemical (salt corrosion).
None of that shows up on day one. A new-construction window that's installed correctly will look identical, from the outside, to one that's installed wrong — for a while. The difference shows up two, five, or ten years later, as staining, soft trim, corroded hardware, or a stain on the drywall below a window that "was never leaking" until it suddenly was. Getting it right during the build is the only point where it's cheap to fix.
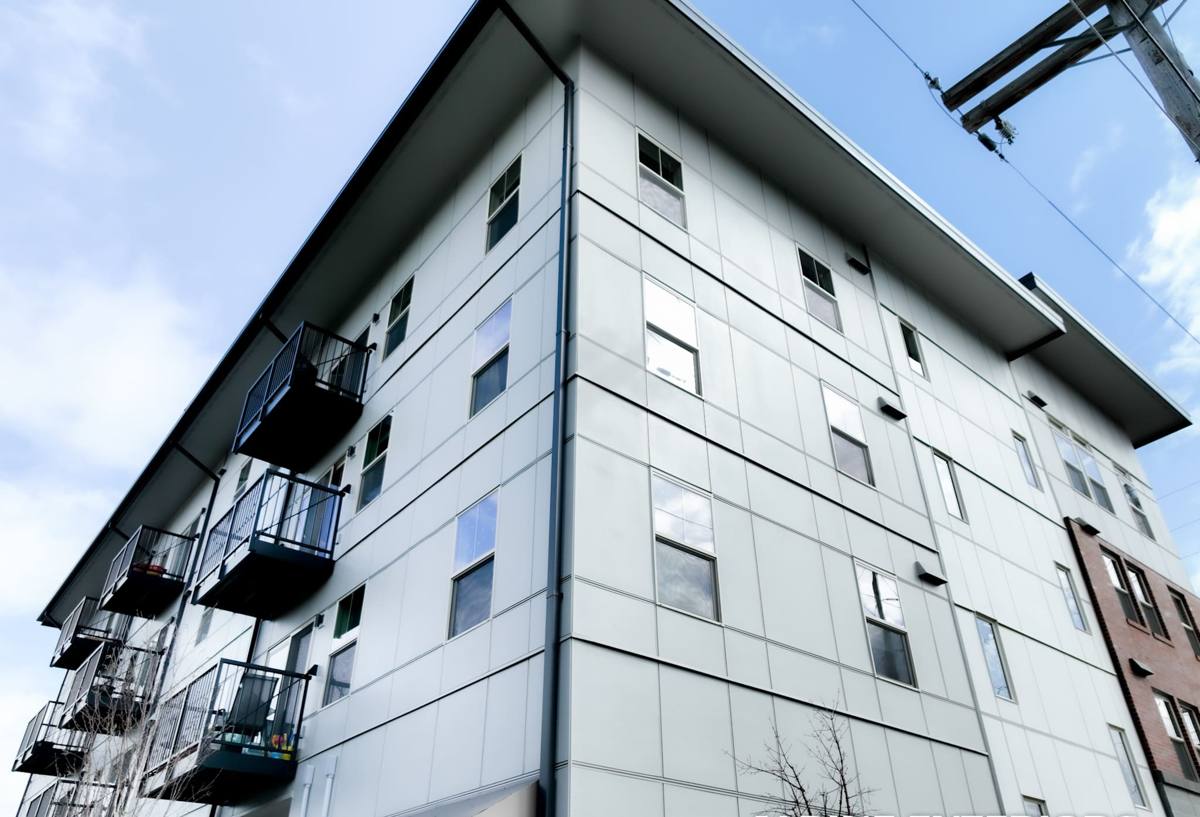
New-Construction Windows vs. Replacement Windows: Why the Job Is Different
A lot of homeowners assume window installation is window installation. It isn't. Replacement work fits a new unit into an existing, already-flashed opening — the wall is finished, the siding is on, and the installer is working with what's there. New construction is the opposite: the wall is open, the water-resistive barrier (WRB) isn't installed yet or is only partly installed, and the window is going in raw, into framing, before any siding or trim exists.
That's actually an advantage — done right, a new-construction install lets us build a fully continuous drainage plane around the opening with no gaps, no old caulk to work around, and no guesswork about what's hidden behind existing trim. But it also means there's no siding to hide a shortcut. Every flashing lap, every seam, every fastener has to be correct the first time, because once the siding crew closes the wall up, that opening isn't getting a second look for years.
Why This Matters More in a Salt-Air, High-Rain Neighborhood
In a drier, more sheltered part of Whatcom County, a minor flashing shortcut might go unnoticed for a decade. On a bluff-top lot exposed to Bellingham Bay, wind-driven rain finds gaps that would never see water anywhere else, and salt air accelerates corrosion on any exposed fastener or hardware. The margin for error is smaller here, which is exactly why the install sequence matters as much as the window itself.
What a Correct New-Construction Window Installation Actually Involves
There's no shortcut version of this that holds up long-term. A proper install follows the same core sequence on every opening, regardless of window brand:
- Rough opening is checked for square, level, and correct size before anything else happens.
- A sloped sill pan flashing is installed at the bottom of the opening, so any water that does get past the window has a built-in path back out to the exterior — not into the framing.
- The water-resistive barrier is integrated in proper shingle-lap order: sill pan first, then the WRB comes down over the sides, then the head flashing goes on last, lapping over the top. Water always has to be directed down and out, never into a seam.
- The window is set, checked for level and plumb, and fastened per the manufacturer's schedule — not "however many screws feel right."
- The nailing fin is sealed and flashed on the sides and top, tying back into the WRB with proper laps and compatible tape or flashing membrane.
- Sealants and backer rod are installed only where the manufacturer specifies — over-sealing a window (caulking the bottom edge shut) is one of the most common mistakes we correct, because it traps water instead of letting it drain.
- Interior air-sealing and insulation around the frame are completed before drywall closes it in.
Skip or rush any one of those steps and the window can still look fine and pass a quick glance — the failure just gets deferred to whoever owns the house down the road.
The One Mistake We See Most Often
The single most common issue in new-construction window installs isn't the window — it's sequencing. Sill pan flashing installed after the WRB instead of before it, or head flashing tucked under the WRB instead of over it, reverses the shingle-lap and gives water a direct path inward instead of a path out. It's invisible once the siding goes on, and it's the type of error that surfaces as a stain or soft framing years later.
Choosing Frame Materials for a Marine, High-Rain Environment
Frame material matters more here than it would somewhere drier and further from the water. Salt air is genuinely corrosive to certain hardware and finishes over time, and constant damp conditions favor materials that don't wick or hold moisture at the sill.
| Frame Material | Salt-Air / Corrosion Behavior | Moisture Behavior | Maintenance |
|---|---|---|---|
| Vinyl | Does not corrode; UV and long-term color stability vary by manufacturer | Doesn't absorb water; relies entirely on correct flashing at the frame | Low — occasional cleaning |
| Fiberglass | Very good corrosion resistance; stable in temperature swings | Dimensionally stable in wet-dry cycling | Low |
| Aluminum-clad wood | Cladding resists corrosion; any breach exposes wood beneath to rot risk | Interior wood member needs the cladding and sealant intact to stay dry | Moderate — depends on sealant condition over time |
| Bare aluminum | Can pit and corrode faster in sustained salt exposure without a marine-grade finish | Conducts cold, can contribute to condensation at the frame | Higher in coastal exposure |
None of these is automatically "wrong" for Edgemoor — the right choice depends on the home's design, budget, and how exposed the specific elevation is to the water and prevailing weather. What matters most is that whichever frame is chosen gets installed with a flashing detail suited to that material, since manufacturers differ in how their fin, cladding, and drainage details are meant to integrate with the WRB.
How We Work With Your Builder
On a new build, we're one trade in a sequence, not a standalone job. We coordinate directly with the general contractor or framer on timing — windows typically go in right after the WRB is roughed in and before siding, trim, or stucco starts. We confirm rough openings before the windows are ordered, so nothing shows up on site that's a half-inch off. We also walk each opening with photos before it gets covered by siding, so there's a documented record of the flashing and sealing work while it's still visible — not a verbal assurance that has to be taken on faith after the wall is closed.
If your builder already has a window package specified, we install to that spec. If you're still deciding, we'll walk through frame material, glazing performance, and hardware options with you directly and explain the trade-offs in plain terms — not push whatever happens to be in stock.
Code, Energy Performance, and Inspections
New-construction windows in Bellingham and unincorporated Whatcom County are subject to the Washington State Energy Code, which sets minimum performance requirements for new-build glazing, along with standard building code requirements for egress sizing in bedrooms and safety glazing near doors, stairs, and low sills. We install to whatever the approved plans and window schedule specify and make sure the work is ready for the framing and insulation inspections that typically apply before drywall goes up. We're not the ones who set your project's energy code targets — that's your designer or builder's call — but we make sure what goes in matches what was specified and permitted.
What to Watch For During Your Build
You don't need to be a contractor to keep an eye on this part of your build. Before your siding crew starts, it's reasonable to ask your builder or window installer to walk you through:
- Whether sill pan flashing was installed at every window opening, not just the ones facing the weather
- Whether photos exist of the flashing and WRB integration before siding covered it
- What sealant was used, and whether it's rated for the frame material and long-term UV/salt exposure
- Whether the bottom of each window was left able to drain, rather than fully caulked shut
- Whether hardware (fasteners, weeps, tracks) is corrosion-rated for a marine environment
- Whether the frame material and glazing package match what's on the approved plans
If a builder or installer can't answer these plainly, that's worth a second conversation before the wall closes up — this is the one point in construction where these questions are nearly free to ask and expensive to ask later.
Why an Edgemoor-Familiar Crew Matters
Window installation isn't unique to this neighborhood, but the conditions it has to survive are more demanding here than in a sheltered inland lot. A crew that already works bluff-top and waterfront properties around Bellingham has already seen how wind-driven rain behaves against a west- or north-facing wall near the water, already knows which sealants and hardware hold up under sustained salt exposure, and already understands why sequencing matters more here than it might elsewhere in the county. That familiarity shows up as fewer surprises during the build and fewer callbacks after it — not as anything you can see on the window itself, but in whether it's still performing correctly a decade from now.
Get a Straightforward Estimate
If you're building new in Edgemoor and want your window openings done right the first time — correctly flashed, properly sequenced with your builder's schedule, and matched to a frame material that makes sense for a bluff-top, salt-air setting — we're glad to walk your plans with you. Use the form below for a free, no-pressure estimate; we'll look at your window schedule and site conditions and give you a straight answer on scope and timing.