 Bellingham
 Building New in Birch Bay? The Windows Have to Be Right the First Time
New construction is the one time a window installation gets to be done correctly from the studs out — no working around old trim, no guessing what's behind the existing siding, no compromises forced by a retrofit. That matters more in Birch Bay than almost anywhere else in Whatcom County. This is a shoreline community exposed to Strait of Georgia weather: salt-laden air, wind-driven rain that hits walls sideways rather than falling straight down, and a wet season that runs long enough to grow moss on anything that stays damp. Windows installed here don't just need to look good on move-in day. They need a flashing and drainage plan built for decades of that exposure.
We install new-construction windows for builders, remodelers, and owner-built homes throughout the Birch Bay area. This page covers what that actually involves — the difference between new-construction and replacement windows, what the flashing and water-management details need to look like near salt water, and how we run the install so it holds up.
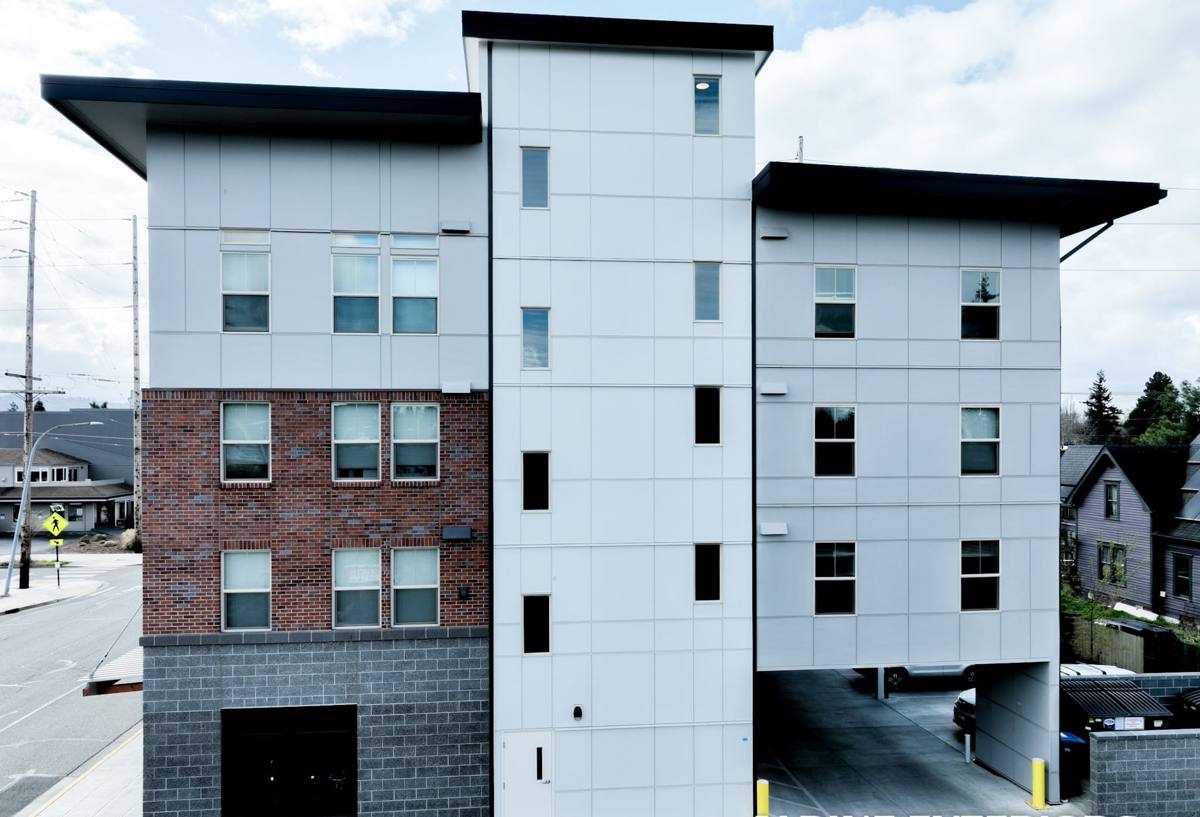
New-Construction vs. Replacement: Why the Distinction Matters
"New-construction" isn't a marketing term — it describes a specific type of window with a nailing fin around the perimeter, designed to be installed into a rough opening before the exterior finish goes on. Replacement (or "pocket") windows are built to slide into an existing frame with minimal disturbance to the surrounding wall. They solve different problems, and using the wrong one — or installing the right one incorrectly — creates leak paths that don't show up until years later.
What a New-Construction Install Gets You
- Full access to the rough opening, so flashing and weather-resistive barrier integration can be done in the correct shingle-lap sequence
- A nailing fin fastened directly to structural sheathing, which is the strongest and most weathertight attachment method available
- The ability to set sill pans and back-dam details before the window ever goes in — impossible to do properly on a retrofit
- Trim and exterior finish that integrates cleanly with siding, rather than being built up around an existing frame
The trade-off is that new-construction installs require the exterior wall to be open — this is a build-sequence job, not a weekend swap. That's exactly why it needs to be planned into the framing and siding schedule, not treated as an afterthought.
What Birch Bay's Climate Demands From a Window Install
Salt Air and Metal Components
Birch Bay sits close enough to salt water that airborne salt reaches exterior surfaces regularly, especially with onshore wind. Over time, salt accelerates corrosion on anything not rated for it — cheap fasteners, unprotected flashing metal, and low-grade hardware all show pitting and staining years before they would inland. We spec corrosion-resistant fasteners and flashing materials for coastal work, and we pay attention to dissimilar-metal contact (aluminum flashing against steel fasteners, for example) that can set up galvanic corrosion.
Driving Rain, Not Just Rain
Whatcom County gets a lot of rain generally, but Birch Bay's open shoreline exposure means storms often arrive with real wind behind them. Water doesn't just run down the wall — it gets pushed sideways and upward under trim and siding laps. A window that would perform fine in a sheltered inland lot can leak here if the flashing isn't detailed to handle wind-driven water, particularly at the sill and at the head flashing above.
A Long Moss and Damp Season
Between the marine humidity and the tree cover common around Birch Bay lots, anything that stays wet for extended periods grows moss and algae — including window sills, trim, and the tops of frames if drainage is poor. Good sill pan design and a slight outward pitch aren't cosmetic details; they're what keeps water moving off the window instead of sitting on it.
What a Correct New-Construction Window Job Involves
The window unit itself is only part of the job. Most leaks trace back to flashing and sequencing errors, not product defects. Here's what we do at each stage:
1. Rough Opening Prep
We verify the opening is square, plumb, and sized correctly before anything else happens. A sill pan with a back dam goes in first — this is the detail that catches any water that gets past the window and directs it back outside instead of into the wall cavity.
2. Weather-Resistive Barrier Integration
The house wrap or building paper gets cut and folded into the opening in the correct sequence — sill first, then jambs, then head — so that every layer sheds water onto the layer below it, shingle-style. Get this order backward and you've built a funnel instead of a barrier.
3. Setting the Window
The window goes in on the sill pan, gets shimmed level and plumb, and is fastened through the nailing fin into structural framing. We check operation — sashes opening and closing smoothly, locks engaging fully — before the wall closes up around it, because that's the last easy chance to fix it.
4. Flashing the Fin
Flashing tape goes over the nailing fin at the jambs and head, integrated with the weather-resistive barrier above and beside it. The head flashing gets special attention here — it's the piece doing the most work against wind-driven rain.
5. Insulating and Sealing the Interior Gap
The gap between the window frame and rough opening gets filled with a low-expansion foam or backer rod and sealant — never packed tight with fiberglass insulation alone, which does nothing to stop air and moisture movement.
6. Exterior Trim and Final Seal
Once siding is on, exterior trim gets installed and sealed at the perimeter with a quality sealant rated for exterior exposure. This is also where we do a final visual check for gaps or thin spots in the seal before calling the opening complete.
Choosing Windows for a Birch Bay Build
Frame material and glass package both matter more here than in a sheltered inland location. We'll talk through options based on your budget and design, but here's the general shape of the decision:
| Frame Material | Coastal Performance | Maintenance |
|---|---|---|
| Vinyl | Good — won't corrode, handles moisture well | Low; occasional cleaning |
| Fiberglass | Very good — dimensionally stable, resists warping in temperature swings | Low |
| Aluminum-clad wood | Good exterior protection, but cladding seams and cut edges need careful detailing near salt air | Moderate |
| Bare wood | Requires diligent maintenance in this climate; we're upfront that it's a higher-upkeep choice here | High |
For glass, a dual-pane unit with a low-E coating is the standard baseline for this region — it manages both winter heat loss and the glare off open water on bright days. Argon-filled units add a modest efficiency bump. We don't push upgrades you don't need, but we'll flag when a lot's exposure — full sun, open wind, tree shade — makes a particular glass package worth the extra cost.
Why Hire a Crew That Already Works Birch Bay
Flashing details that work fine in a dry, sheltered climate can fail within a few years on an exposed Whatcom County shoreline lot. A crew that mostly works inland jobs may not think twice about wind-driven rain at a head flashing, or salt exposure on fastener choice — because most of their jobs never test those details. We work new-construction windows across the Bellingham area, including Birch Bay's coastal exposure, and we build every install to the harder standard, not the easier one.
We also coordinate directly with builders and GCs on scheduling, since new-construction window installs have to land at the right point in the framing-to-siding sequence — too early and the opening isn't ready, too late and it holds up siding crews behind us.
Before You Call: A Quick Checklist
- Confirm your window schedule (sizes, styles, egress requirements) is finalized before rough openings are framed
- Ask your builder or window supplier whether units are new-construction (nailing fin) or replacement style — using the wrong type creates problems that are expensive to fix later
- Decide on frame material early — it affects rough opening sizing and trim details
- Ask any contractor bidding the job how they detail sill pans and head flashing — a vague answer is a red flag
- Plan for the exterior wall to be open during install; this isn't a job that happens after siding is up
Get a Free, No-Pressure Estimate
If you're building or planning a build in Birch Bay and want windows installed by a crew that details them for this coast, not just for code minimum, reach out. We'll walk through your window schedule, talk through material options, and give you a straightforward estimate — no pressure, no upsell. The form below gets you started.