 Bellingham
 Why Window Installation in Birch Bay Is Its Own Job
Birch Bay sits right on the water, and that changes what a window has to survive. Homes here take on salt-laden air, wind-driven rain coming straight off the bay, and a moss-and-mildew season that runs a good chunk of the year in Whatcom County. A window that would be fine ten miles inland can fail early here if it wasn't installed with the exposure in mind. That's not a knock on any particular product — it's just what happens when a standard installation approach meets an above-average climate load.
Correct window installation in a place like Birch Bay isn't really about the window unit itself. Most failures we see don't start with the glass or the frame — they start with the flashing, the sealant, and the way water is directed away from the rough opening. Get that wrong and even a good window will let moisture into the wall cavity over a few winters. Get it right and a mid-grade window will outperform a premium one installed carelessly.
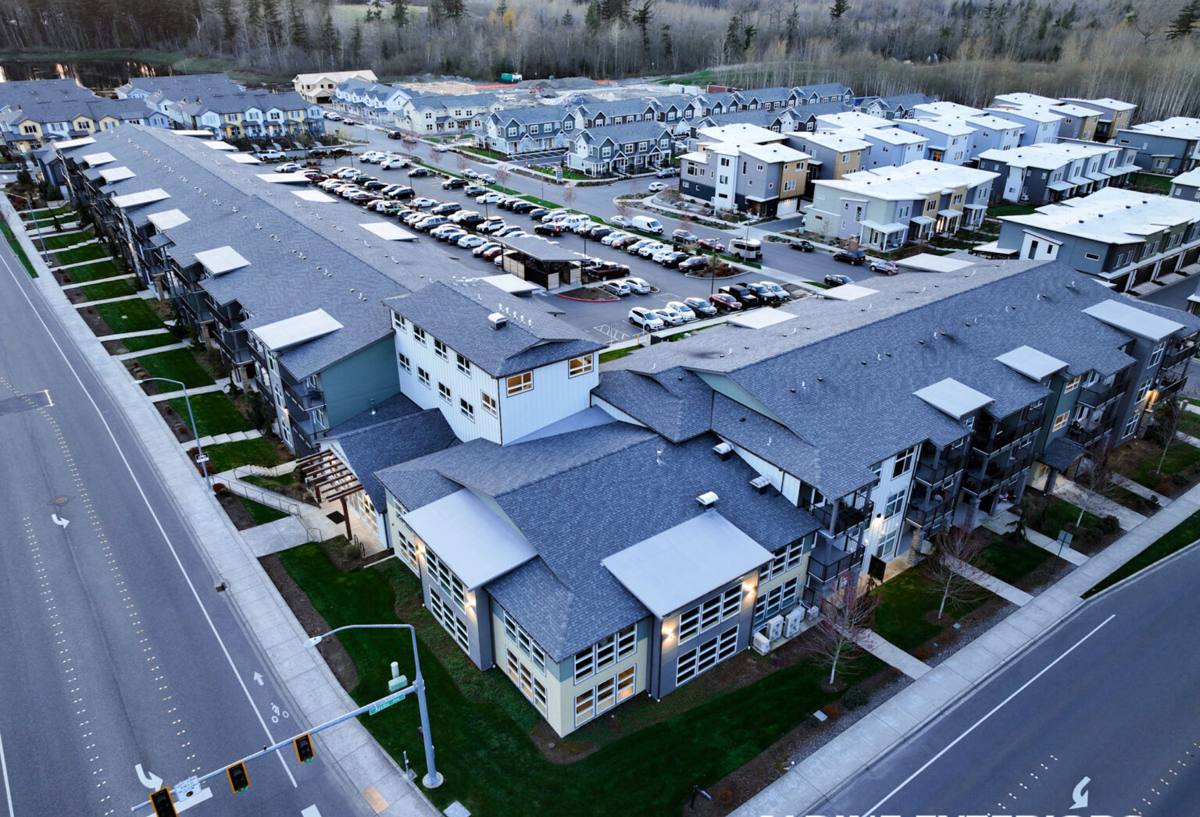
What the Regional Climate Actually Does to Windows
Salt Air and Corrosion
Homes close to the water deal with airborne salt settling on hardware, screens, and metal flashing. Over years this can pit cheaper fasteners and hinges and accelerate corrosion on unprotected metal components. It doesn't ruin a window overnight, but it's a reason to pay attention to the grade of hardware and flashing metal specified for a coastal install, not just the glass package.
Wind-Driven Rain
Rain in Whatcom County rarely falls straight down when a storm rolls in off the water — it comes in sideways. That means water gets pushed up and under trim, into gaps that would stay dry in a calmer climate. This is why sill pan flashing and proper head flashing sequencing matter more here than in a typical inland install; a window that's only "caulked in" is depending on a single line of defense against a wind load that regularly tests it.
Moss and Sustained Moisture
Long stretches of damp weather keep exterior wood trim and sills wet for extended periods, and that's exactly the environment moss and mildew like. Around windows, sustained moisture at the sill is one of the more common places we find soft wood or early rot on older homes, especially where the original trim was never back-primed or where caulking has failed and gone unnoticed.
Signs a Birch Bay Home Needs Window Work
- Visible fogging or a hazy look between the panes of a double-pane window (failed seal)
- Soft or spongy trim, sill, or jamb wood when pressed with a thumb
- Noticeable draft or cold spot near the window frame in winter
- Difficulty opening, closing, or locking a window that used to operate smoothly
- Paint or caulk that's cracked, peeling, or pulling away from the frame
- Water staining on interior drywall or trim below or beside a window
- Visible daylight or gaps around the frame from outside
Any one of these can be minor. Several together, especially on the water-facing side of a house, usually means it's worth having someone look at the actual installation, not just the window itself.
What a Correct Installation Actually Involves
A window install that's built for this climate follows a specific order of operations. Skipping steps or doing them out of sequence is how "new windows" end up with the same water problems as the old ones within a few years.
- Remove the old unit carefully and inspect the rough opening framing, sheathing, and existing flashing for rot or hidden moisture damage before anything new goes in.
- Repair any damaged framing or sheathing found during removal. Installing a new window into a compromised opening just hides the problem instead of fixing it.
- Install a sill pan flashing at the bottom of the opening so any water that does get past the window has a sloped path back outside, rather than sitting on bare framing.
- Apply flashing tape or membrane around the jambs and integrate it with the sill pan and the home's existing weather-resistive barrier, in the correct shingle-lapped order so water always sheds downward and outward.
- Set the window level, plumb, and square, shimmed correctly so the frame isn't under stress that can cause premature seal failure or operational issues.
- Insulate the gap between the frame and rough opening with a proper low-expansion product, not packed tight enough to bow the frame.
- Install head flashing above the window, integrated over the housewrap so water is directed around and past the top of the unit rather than behind it.
- Finish with quality exterior sealant at the appropriate joints only — sealant is a backup to good flashing, not a substitute for it.
Choosing Window Materials for a Coastal Home
There's no single "best" window material for every situation, but there are real trade-offs worth understanding before you decide, especially this close to the water.
| Material | Coastal Performance | Maintenance | Typical Trade-Off |
|---|---|---|---|
| Vinyl | Good moisture resistance, won't rot or corrode | Low — occasional cleaning | Can flex over time in large sizes; color options more limited |
| Fiberglass | Very stable in temperature swings and moisture, strong seal retention | Low | Higher upfront cost than vinyl |
| Wood (unclad) | Attractive but vulnerable to sustained damp exposure without diligent upkeep | High — repainting, sealing | Best reserved for protected elevations, not direct water-facing walls |
| Wood-clad (aluminum or fiberglass exterior) | Good if cladding and flashing details are done correctly | Moderate | Performance depends heavily on installation quality at the clad/wood junction |
| Aluminum | Durable but conducts heat and cold; can condense in this climate | Low | Less energy-efficient unless thermally broken |
For homes with direct water exposure, we generally steer customers toward vinyl or fiberglass for anything on the bay-facing side of the house, and reserve wood or wood-clad for more sheltered elevations where the maintenance commitment makes sense. This isn't a judgment on any manufacturer — it's about matching the material's real-world moisture behavior to how much sustained exposure a given wall actually sees.
What Drives the Cost of a Window Installation
| Factor | Why It Matters |
|---|---|
| Number and size of openings | More units and larger glass areas increase material and labor time |
| Retrofit vs. full-frame replacement | Full-frame work (removing to the studs) costs more but is often necessary when framing damage is found |
| Existing rot or hidden damage | Repair work discovered during removal adds cost but shouldn't be skipped |
| Window material and glass package | Vinyl, fiberglass, and upgraded glass (low-E coatings, gas fills) carry different price points |
| Exposure and access | Second-story or hard-to-access windows on wind-exposed walls take more time to do safely |
| Trim and finish work | Matching existing interior or exterior trim adds labor beyond the window unit itself |
We won't quote a number here, because it genuinely depends on what we find at your house — but we can tell you that the biggest swing in price is almost always hidden framing or sill damage discovered once the old window comes out, not the window brand itself.
Our Process for Birch Bay Jobs
We keep this straightforward because homeowners deserve to know what to expect, especially with a job that opens up the exterior wall of their home.
- On-site assessment — we look at the existing windows, trim, and any visible signs of moisture before recommending anything
- Honest scope — if we find rot or damage once we start, we show you before proceeding, not after the invoice
- Weather-aware scheduling — we plan installation days around forecasts, since an open wall cavity and a Whatcom County rain system don't mix
- Proper flashing sequence every time — sill pan, jamb flashing, head flashing, integrated with the home's water-resistive barrier, regardless of window brand
- Clean job site — old units and debris removed, work area left tidy at the end of each day
- Walkthrough at completion — we go over operation, locking, and basic care before we consider the job done
Why a Crew That Already Works Birch Bay Matters
Window installation isn't exotic work, but doing it well in a bay-front climate is a different exercise than doing it on a sheltered inland lot. A crew that regularly works this stretch of Whatcom County has already seen how wind-driven rain behaves against these homes, which elevations take the worst of it, and where sill and trim rot tends to show up first. That experience shows up in small decisions — how much flashing overlap to use, which joints get sealant and which don't, how a window is shimmed so it isn't fighting wind pressure — that don't show up on a spec sheet but matter a lot ten years down the road.
It also matters for permitting and code awareness specific to the area. Window replacement scope (retrofit versus full-frame) can affect what documentation or inspection applies, and a crew familiar with local jurisdiction requirements can flag that early instead of after the old windows are already out.
Caring for New Windows After Installation
- Rinse salt residue off exterior frames and glass periodically, especially after storms
- Keep weep holes (the small drainage openings at the bottom of the frame) clear of debris and moss
- Check exterior caulk lines once a year for cracking or separation and address small gaps before they grow
- Wipe down tracks and hardware to prevent grit buildup that accelerates wear
- Watch for condensation between panes, which signals a seal issue worth addressing early
A Straightforward Checklist for Choosing Someone to Do This Work
- Do they explain their flashing and sealing sequence without being asked twice?
- Do they inspect the rough opening before quoting a final price, or just measure the glass?
- Are they willing to show you any rot or damage they find before repairing it?
- Do they carry proper licensing and insurance for exterior work in Washington?
- Can they speak specifically to how they handle wind-driven rain and coastal exposure, not just generic installation steps?
If you're weighing a window project for a Birch Bay home, we're happy to come take a look, walk you through what we see, and give you a straightforward, no-pressure estimate — no obligation either way. Use the form below to get started.