 Bellingham
 Windows in Lynden Have a Harder Job Than People Think
Lynden sits inland from Bellingham in Whatcom County, but it shares the same weather pattern that defines this whole corner of Washington: long stretches of wet, low-pressure weather from fall through spring, driving rain that comes in sideways during windstorms, and shaded north sides of homes that stay damp long enough to grow moss and algae. Add in the temperature swings between summer highs and winter cold snaps, and every seam, seal, and flashing detail around a window gets tested constantly. A window that's installed correctly shrugs all of that off for decades. One that isn't will show it within a year or two — usually as a soft spot in the drywall below the sill or a musty smell nobody can quite place.
This page is specifically about window installation for homes in and around Lynden. It's not a general "why replace your windows" pitch — it's what actually matters for this area's climate, what a correct install looks like, and what to expect if you're planning one.
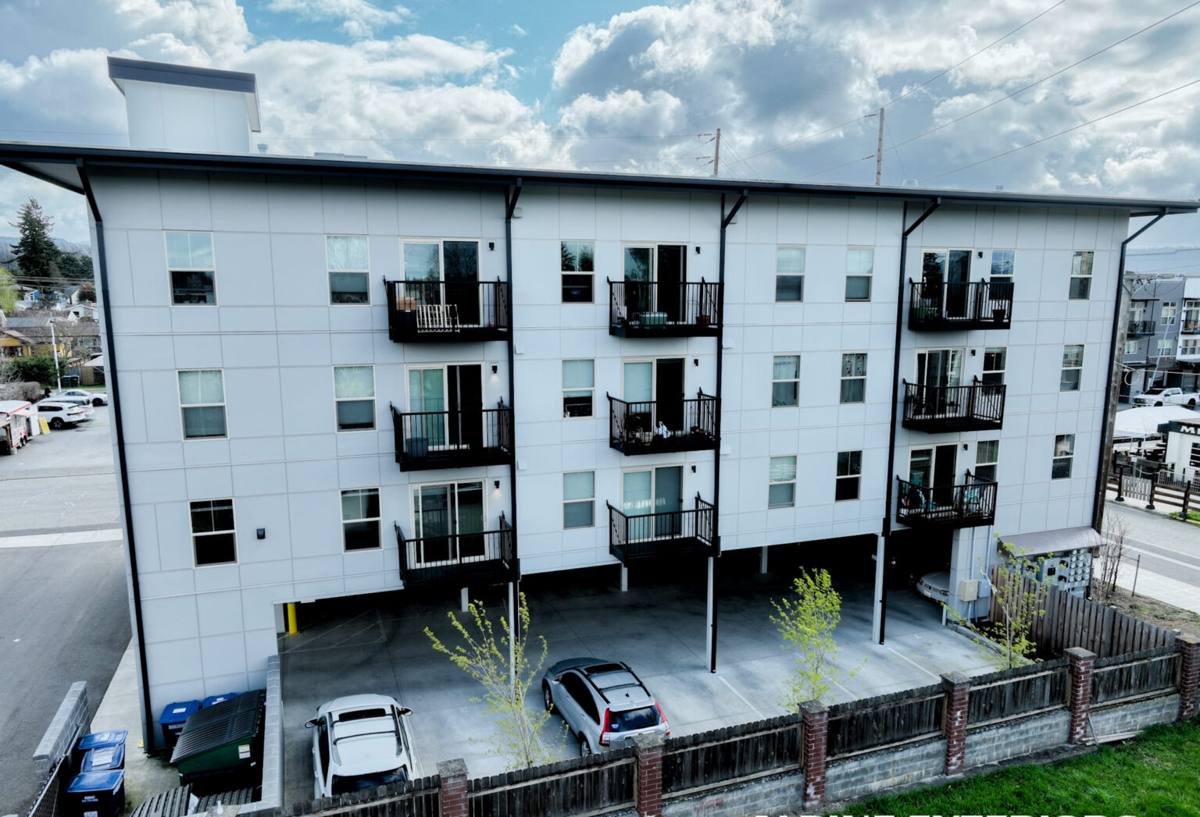
What This Climate Actually Does to a Window Opening
Most window failures aren't glass failures — they're failures of the wood, flashing, and sealant around the window. In a region with this much sustained moisture exposure, a few specific things happen over and over:
- Wind-driven rain finds gaps. Storms off the water push rain horizontally, not straight down, which means it gets pushed into any gap a calm-weather install might get away with.
- Wood rot starts from the inside. Sills and framing usually rot from trapped moisture behind the trim, not from surface exposure — so damage is often invisible until it's advanced.
- Moss and algae hold moisture against surfaces. Shaded elevations and areas under trees stay damp longer, which accelerates decay in wood trim and caulk breakdown.
- Condensation builds up on old glass. Single-pane and early double-pane windows fog and sweat in cold snaps, and that moisture runs down onto sills that are often original, older wood.
None of this is unique to Lynden specifically — it's the reality across Whatcom County and the wider Pacific Northwest, including the salt-air exposure closer to the coast. But it's exactly why "just swap the glass" isn't a real fix, and why the installation details matter more here than they would in a drier climate.
Signs a Window Is Losing the Battle
Homeowners usually notice one of these before they notice the window itself is the problem:
- Fogging or a milky haze between the panes (the seal has failed)
- Soft or spongy wood at the sill or bottom corners of the frame
- Paint that keeps bubbling or peeling around the same window every year
- A draft you can feel even with the window fully latched
- Difficulty opening, closing, or locking that wasn't there a few years ago
- A musty smell in the room that goes away when the window is opened
Any one of these is worth a look. A few together usually means the moisture has already gotten into the wall assembly, not just the window itself.
What a Correct Window Installation Actually Involves
The window unit itself is often the easy part. The work that determines whether it lasts is what happens before and after it's set in the opening.
Before the New Window Goes In
The old window and any surrounding trim comes out carefully so we can actually see the condition of the rough opening — the wood framing that's normally hidden. This is the point where hidden rot, if any, gets found and dealt with. Skipping this step and installing a new window over a compromised opening just seals the problem behind new material.
Flashing and Moisture Management
This is the part that separates a durable install from one that fails quietly over a few winters. Proper flashing is layered so that any water that does get past the exterior surface is directed back out, not into the wall cavity — sill pan flashing at the bottom, side flashing that overlaps it, and head flashing or a properly integrated drip cap at the top, all tied into the building's water-resistive barrier in the right order (bottom-up, like shingles). Sealant is used to close gaps, not as a substitute for correct flashing sequence — caulk fails eventually; flashing shouldn't have to.
Setting, Shimming, and Insulating
The window needs to be level, plumb, and square in the opening, shimmed at the correct points so it isn't relying on fasteners alone to hold its shape. The gap between the window frame and the rough opening gets insulated — usually with low-expansion foam or backer rod, not packed solid, which can bow the frame and affect how the window operates.
Interior and Exterior Finish
Interior trim, exterior trim, and paint or caulk lines get finished so the whole assembly sheds water and looks right from both sides. This is also where we check that the window operates smoothly — opens, closes, and locks without effort — before calling the job done.
Window Materials: What Holds Up in This Climate
There's no single "best" window material for every home — it depends on the house, the budget, and what part of the exterior it's on. Here's how the common options actually compare for a wet, moderate-temperature climate like ours:
| Material | Moisture Behavior | Maintenance | Typical Fit |
|---|---|---|---|
| Vinyl | Won't rot; handles moisture well | Low — occasional cleaning | Most homes, best value |
| Fiberglass | Excellent — very stable, won't warp or rot | Low | Higher-end replacements, larger openings |
| Wood (unclad interior/exterior) | Vulnerable if any seal fails | High — regular painting/sealing | Historic homes prioritizing original look |
| Wood interior / aluminum or fiberglass-clad exterior | Good — exterior is protected, interior stays traditional | Moderate | Homes wanting a wood look inside with weather protection outside |
| Aluminum (uninsulated) | Prone to condensation, poor thermal performance | Low | Rarely recommended for this climate |
For most Lynden homes, we steer people toward vinyl or fiberglass on exposed elevations simply because they don't give moisture anything to work with over time. All-wood windows aren't wrong — they just come with a maintenance commitment that has to be kept up every few years, and a missed cycle in this climate shows up faster than it would somewhere drier.
Retrofit vs. Full-Frame Replacement
This decision matters more than most homeowners realize going in.
- Retrofit (pocket) replacement: The new window is inserted into the existing frame, which stays in place. Faster, less disruptive, and fine when the existing frame and surrounding wood are still sound.
- Full-frame replacement: The old frame comes out entirely, exposing the rough opening. More work, but it's the only real option when there's rot, or when we need to correct a flashing problem that's been there since the original build.
We don't default to the cheaper option just to make a quote look better — we tell you which one the opening actually needs once it's open, and why.
What Drives the Cost
We won't quote a number without seeing the job, but these are the factors that actually move the price up or down:
| Factor | Why It Matters |
|---|---|
| Retrofit vs. full-frame | Full-frame takes more labor and often more materials for trim and flashing |
| Number of openings | Per-window cost usually drops on larger jobs |
| Window size and type | Large picture windows, bays, or custom shapes cost more than standard sliders or double-hungs |
| Existing rot or damage | Framing repair is priced separately from the window itself |
| Material (vinyl, fiberglass, wood-clad) | Material cost varies significantly by performance tier |
| Access and site conditions | Second-story or hard-to-reach windows take longer and may need staging |
| Interior/exterior trim work | Matching existing trim profiles adds labor |
Our Process
- On-site assessment of each window opening, including a look at the condition of the surrounding wood where accessible
- Honest recommendation on retrofit vs. full-frame, and which material fits the home and budget
- Written estimate with the reasoning behind it, not just a number
- Careful removal of old windows and inspection of the rough opening
- Repair of any rot or damage found before the new window goes in
- Correct flashing sequence, shimming, and insulation around each unit
- Interior and exterior finish work, and a functional check of every window before we call it done
- Walkthrough so you know what was found, what was done, and what to keep an eye on
Why a Crew That Already Works in Lynden Matters
Window installation isn't complicated in theory, but doing it right in a climate like this depends on habits — flashing sequence, material choices, how much you trust old wood versus replacing it — that a crew builds up by working the same kind of homes and the same weather, year after year. A crew that's used to drier climates can install a window that looks fine on day one and still fails at the flashing within a couple of wet seasons, because the details that matter here just aren't the ones that matter there. Working regularly in Whatcom County means we're not guessing at what this weather does to a house — we've seen it, and we build for it.
A Quick Maintenance Checklist Once New Windows Are In
- Check exterior caulk lines once a year, especially after winter storms
- Clear debris and moss from tracks and weep holes so water can drain
- Look at interior sills for any staining or softness after heavy rain periods
- Operate every window at least once each season so hardware doesn't seize up
- Have a professional take a look if you notice fogging between panes — that's a seal failure, not something that can be fixed with cleaning
If you're dealing with drafty, foggy, or aging windows on a Lynden home, we're happy to take a look and give you an honest read on what the openings actually need — retrofit or full-frame, and which materials make sense for your budget. There's a free, no-pressure estimate form below whenever you're ready.