 Bellingham
 Storm Damage Roof Repair in Puget: A Different Kind of Wear
Puget sits close enough to Bellingham Bay that the weather here doesn't behave like weather ten miles inland. Storms roll in off the water with more wind, more sustained rain, and more salt in the air than homes further from the shoreline deal with. A roof in this neighborhood isn't just fighting one storm at a time — it's dealing with the cumulative effect of salt exposure, near-constant moisture, and a moss season that stretches across most of the year. When a storm does real damage, the repair has to account for all of that, not just patch the visible hole and move on.
This page is specifically about storm damage repair for homes in Puget. We're not going to give you a generic rundown of roofing services — we're going to walk through what actually breaks on roofs in this part of Bellingham, what a correct repair looks like given that climate, and why hiring a crew that already knows this neighborhood's roofs makes a real difference.
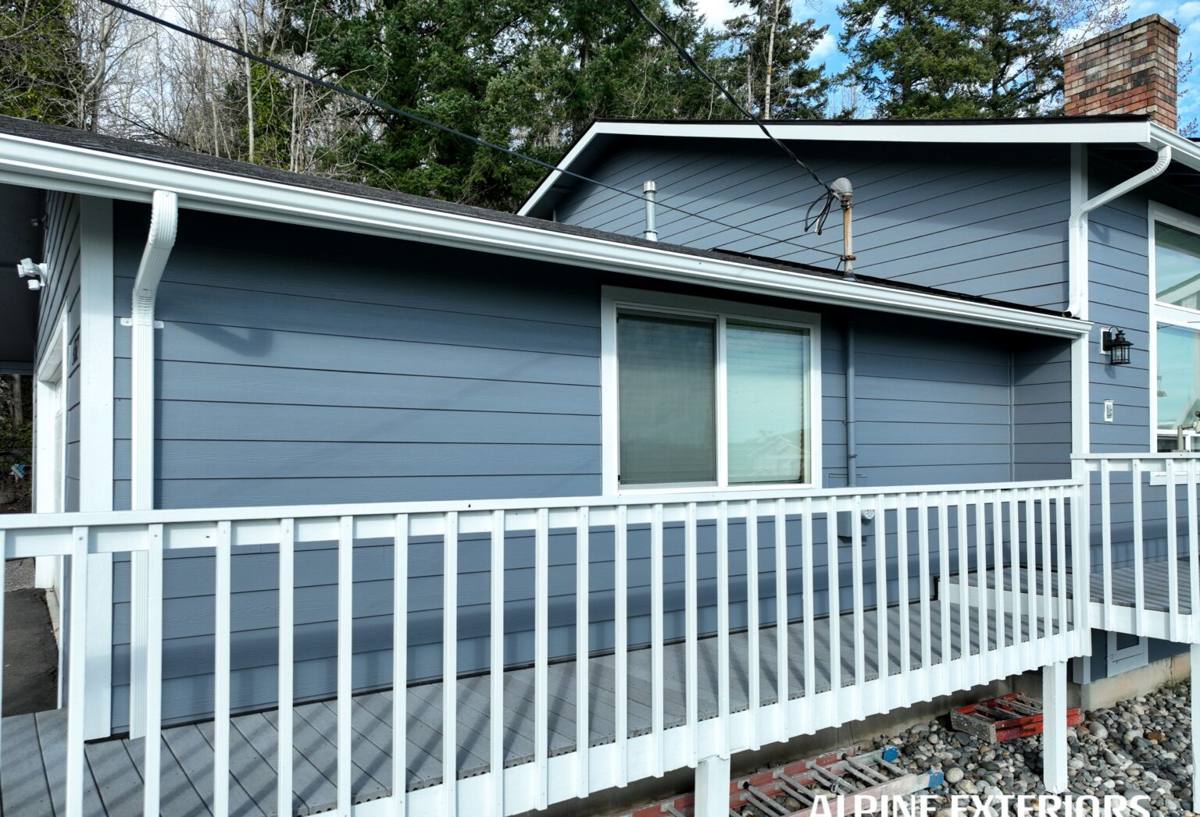
What Actually Damages Roofs in This Part of Bellingham
Wind and Wind-Driven Rain
Whatcom County storms rarely bring dramatic straight-line winds, but they don't need to. Sustained wind combined with rain that comes in sideways off the bay is enough to work shingle edges loose, drive water up under flashing, and push moisture into places a roof was never designed to shed water horizontally. Most of the storm damage we see in Puget isn't a single catastrophic event — it's wind finding the weak point in an aging roof and exploiting it over the course of one bad night.
Falling Limbs and Debris
Mature trees are part of what makes this neighborhood look the way it does, but they're also a liability during winter storms. Saturated soil combined with wind loosens root systems, and limbs that would otherwise hold up fine come down onto roofs. Impact damage ranges from a few cracked or punctured shingles to broken decking underneath, and the two require very different repairs — which is why an honest inspection has to happen before any work gets scoped.
Moss, Moisture, and the Long Wet Season
Moss doesn't cause storm damage directly, but it sets the stage for it. A roof with moss colonies holding moisture against the shingle surface is already compromised before the storm even arrives — the granules are eroding faster, the decking underneath may already be damp, and the roof's ability to shed a heavy rain event is reduced. When we're called out for storm damage in Puget, moss buildup is very often part of the underlying story, not a separate issue.
What a Correct Storm Damage Repair Actually Involves
Inspection Before Any Work Starts
A correct repair starts on the roof, not from the ground. That means checking the decking for soft spots or delamination under any damaged section, looking at flashing around chimneys, vents, and valleys for water intrusion that may not be visible from below, and checking the attic for staining or damp insulation that tells you water already found a way in. Skipping this step is how a roof gets a shingle patch while a soaked section of decking keeps rotting underneath it.
Matching Materials and Flashing Details
Storm repairs fail more often from bad flashing work than from bad shingle work. Water finds the seams — around a chimney, along a valley, at a wall transition — and a repair that doesn't correctly integrate new flashing with the existing roof system will leak again in the next storm, even if the shingles look fine. We match shingle profile and color as closely as the existing product allows, but we treat flashing and underlayment integration as the part of the job that actually determines whether the repair holds.
Underlayment and Water Barrier Considerations
In a climate with this much wind-driven rain, the underlayment matters as much as the shingles on top of it. Any area we open up for repair gets a water-resistant barrier appropriate to that section of the roof — not just because it's good practice everywhere, but because a roof this close to the bay gets tested by sideways rain more often than most.
Our Storm Damage Repair Process
- Initial contact and triage. If there's active water intrusion, we talk through temporary protection first — tarping an exposed section is often the difference between a repair and a much bigger project.
- On-roof and attic inspection. We identify the full extent of the damage, including anything not visible from the ground, before quoting a scope of work.
- Written scope and honest options. You get a clear explanation of what's damaged, what needs to be repaired versus replaced, and why — no upsell padding.
- Repair work. Decking replaced where needed, flashing rebuilt where it's failed, shingles matched as closely as possible, underlayment addressed in any opened section.
- Final check. We verify the repair integrates cleanly with the surrounding roof and won't create a new weak point at the edges of the repaired area.
Repair or Replace? Cost Factors After a Storm
Not every storm-damaged roof needs full replacement, and not every roof can be responsibly patched. These are the factors that actually decide which side of that line a given roof falls on.
| Factor | Points Toward Repair | Points Toward Replacement |
|---|---|---|
| Age of existing roof | Roof is well within its expected service life | Roof is already near or past its expected lifespan |
| Extent of damage | Damage is localized to one section or slope | Damage is spread across multiple areas or slopes |
| Decking condition | Decking is sound once opened up | Widespread rot or soft decking found underneath |
| Moss and moisture history | Minimal moss, roof has been maintained | Heavy moss history with underlying granule loss |
| Material availability | Matching shingle still available or close match acceptable | Discontinued product, patch would be visually and functionally mismatched |
Costs for a storm repair vary widely depending on which side of that table applies — a contained flashing and shingle repair is a modest, bounded expense, while decking replacement across a larger section pushes the cost up considerably. We'll tell you honestly which category your roof falls into rather than defaulting to the more expensive answer.
Insurance Claims: What Homeowners Should Know
Most storm damage repairs in this neighborhood involve a homeowner's insurance claim at some point. A few things make that process go smoother:
- Document damage with photos as soon as it's safe to do so, before any temporary repairs cover it up.
- Get an inspection and written scope from a contractor before the adjuster visit, so you have your own record of the damage independent of the claim process.
- Ask for a detailed, itemized estimate — adjusters respond better to specifics than to a lump-sum number.
- Keep records of any emergency tarping or mitigation work, since that's often reimbursable separately from the permanent repair.
We're happy to provide documentation that supports a claim, but we work for you, not the insurance company — our job is an honest assessment of the roof, not a number tailored to what an adjuster wants to hear.
Why a Crew That Already Works in Puget Matters
Roofing crews that mostly work drier, inland parts of Whatcom County don't always think in terms of salt exposure and near-constant moss pressure, because it's not what they see every day. A crew that regularly works in Puget knows which flashing details tend to fail first on homes this close to the bay, how fast moss re-establishes itself in the shade patterns common to this neighborhood, and what a wind-driven rain event actually does to a roof here versus one further from the water. That familiarity shows up in the details — which corners don't get cut, which parts of the repair get extra attention, and which recommendations are based on what actually happens to roofs in this specific spot rather than a generic playbook.
Storm Damage Checklist: What to Do Right After a Storm
- Check the attic and ceilings for new staining, dampness, or drips — interior signs often show up before roof damage is obvious from the ground.
- Look for shingle granules collecting in gutters or downspouts, a sign of accelerated wear even without visible holes.
- Note any limbs or debris that landed on the roof, even if they've since rolled off — impact damage isn't always visible from below.
- Avoid climbing onto the roof yourself after a storm — wet, moss-covered surfaces are dangerous, and a professional inspection is safer and more thorough.
- Get a temporary tarp on any confirmed leak as soon as possible to limit decking and insulation damage while a permanent repair is scheduled.
- Have the roof inspected even if you don't see obvious damage — flashing and underlayment failures aren't always visible from the ground or the attic right away.
Get an Honest Look at Your Roof
If your roof took a hit in a recent storm — or you're just not sure whether that soft spot or water stain means something — we'll come take a look and give you a straight answer. The estimate is free, there's no pressure attached to it, and you'll walk away knowing exactly what's going on with your roof either way. The form below gets you on our schedule.